DIY Tips for Applying Decorative Finishes and Textures


Preparing Your Surface
Before diving into the world of decorative finishes and textures, it's crucial to start with a clean and prepared surface. This ensures that your finishes adhere properly and last longer. Begin by cleaning the area thoroughly, removing any dust, dirt, or grease. Sand down any rough areas to create a smooth base. If you're working on walls, patch up any holes or cracks, and apply a primer suited for your surface material. This will provide a solid foundation for your decorative work.
Once your surface is prepped, it's time to gather your materials. Depending on the finish or texture you're aiming for, you might need brushes, rollers, sponges, or trowels. Make sure you have everything on hand before you begin to avoid interruptions during the process.
Choosing the Right Finish
Decorative finishes can transform a mundane space into something spectacular. Some popular options include faux finishes like marbling or wood graining, and textures such as stucco or Venetian plaster. Consider the overall aesthetic you're aiming for and the room's function. A glossy finish may be perfect for a modern kitchen, while a matte texture might suit a cozy living room.
When selecting a finish, consider the lighting in the room as well. A finish with a slight sheen can enhance natural light, making the space feel brighter and more open. Experiment with small samples before committing to a large area to ensure you love the look.
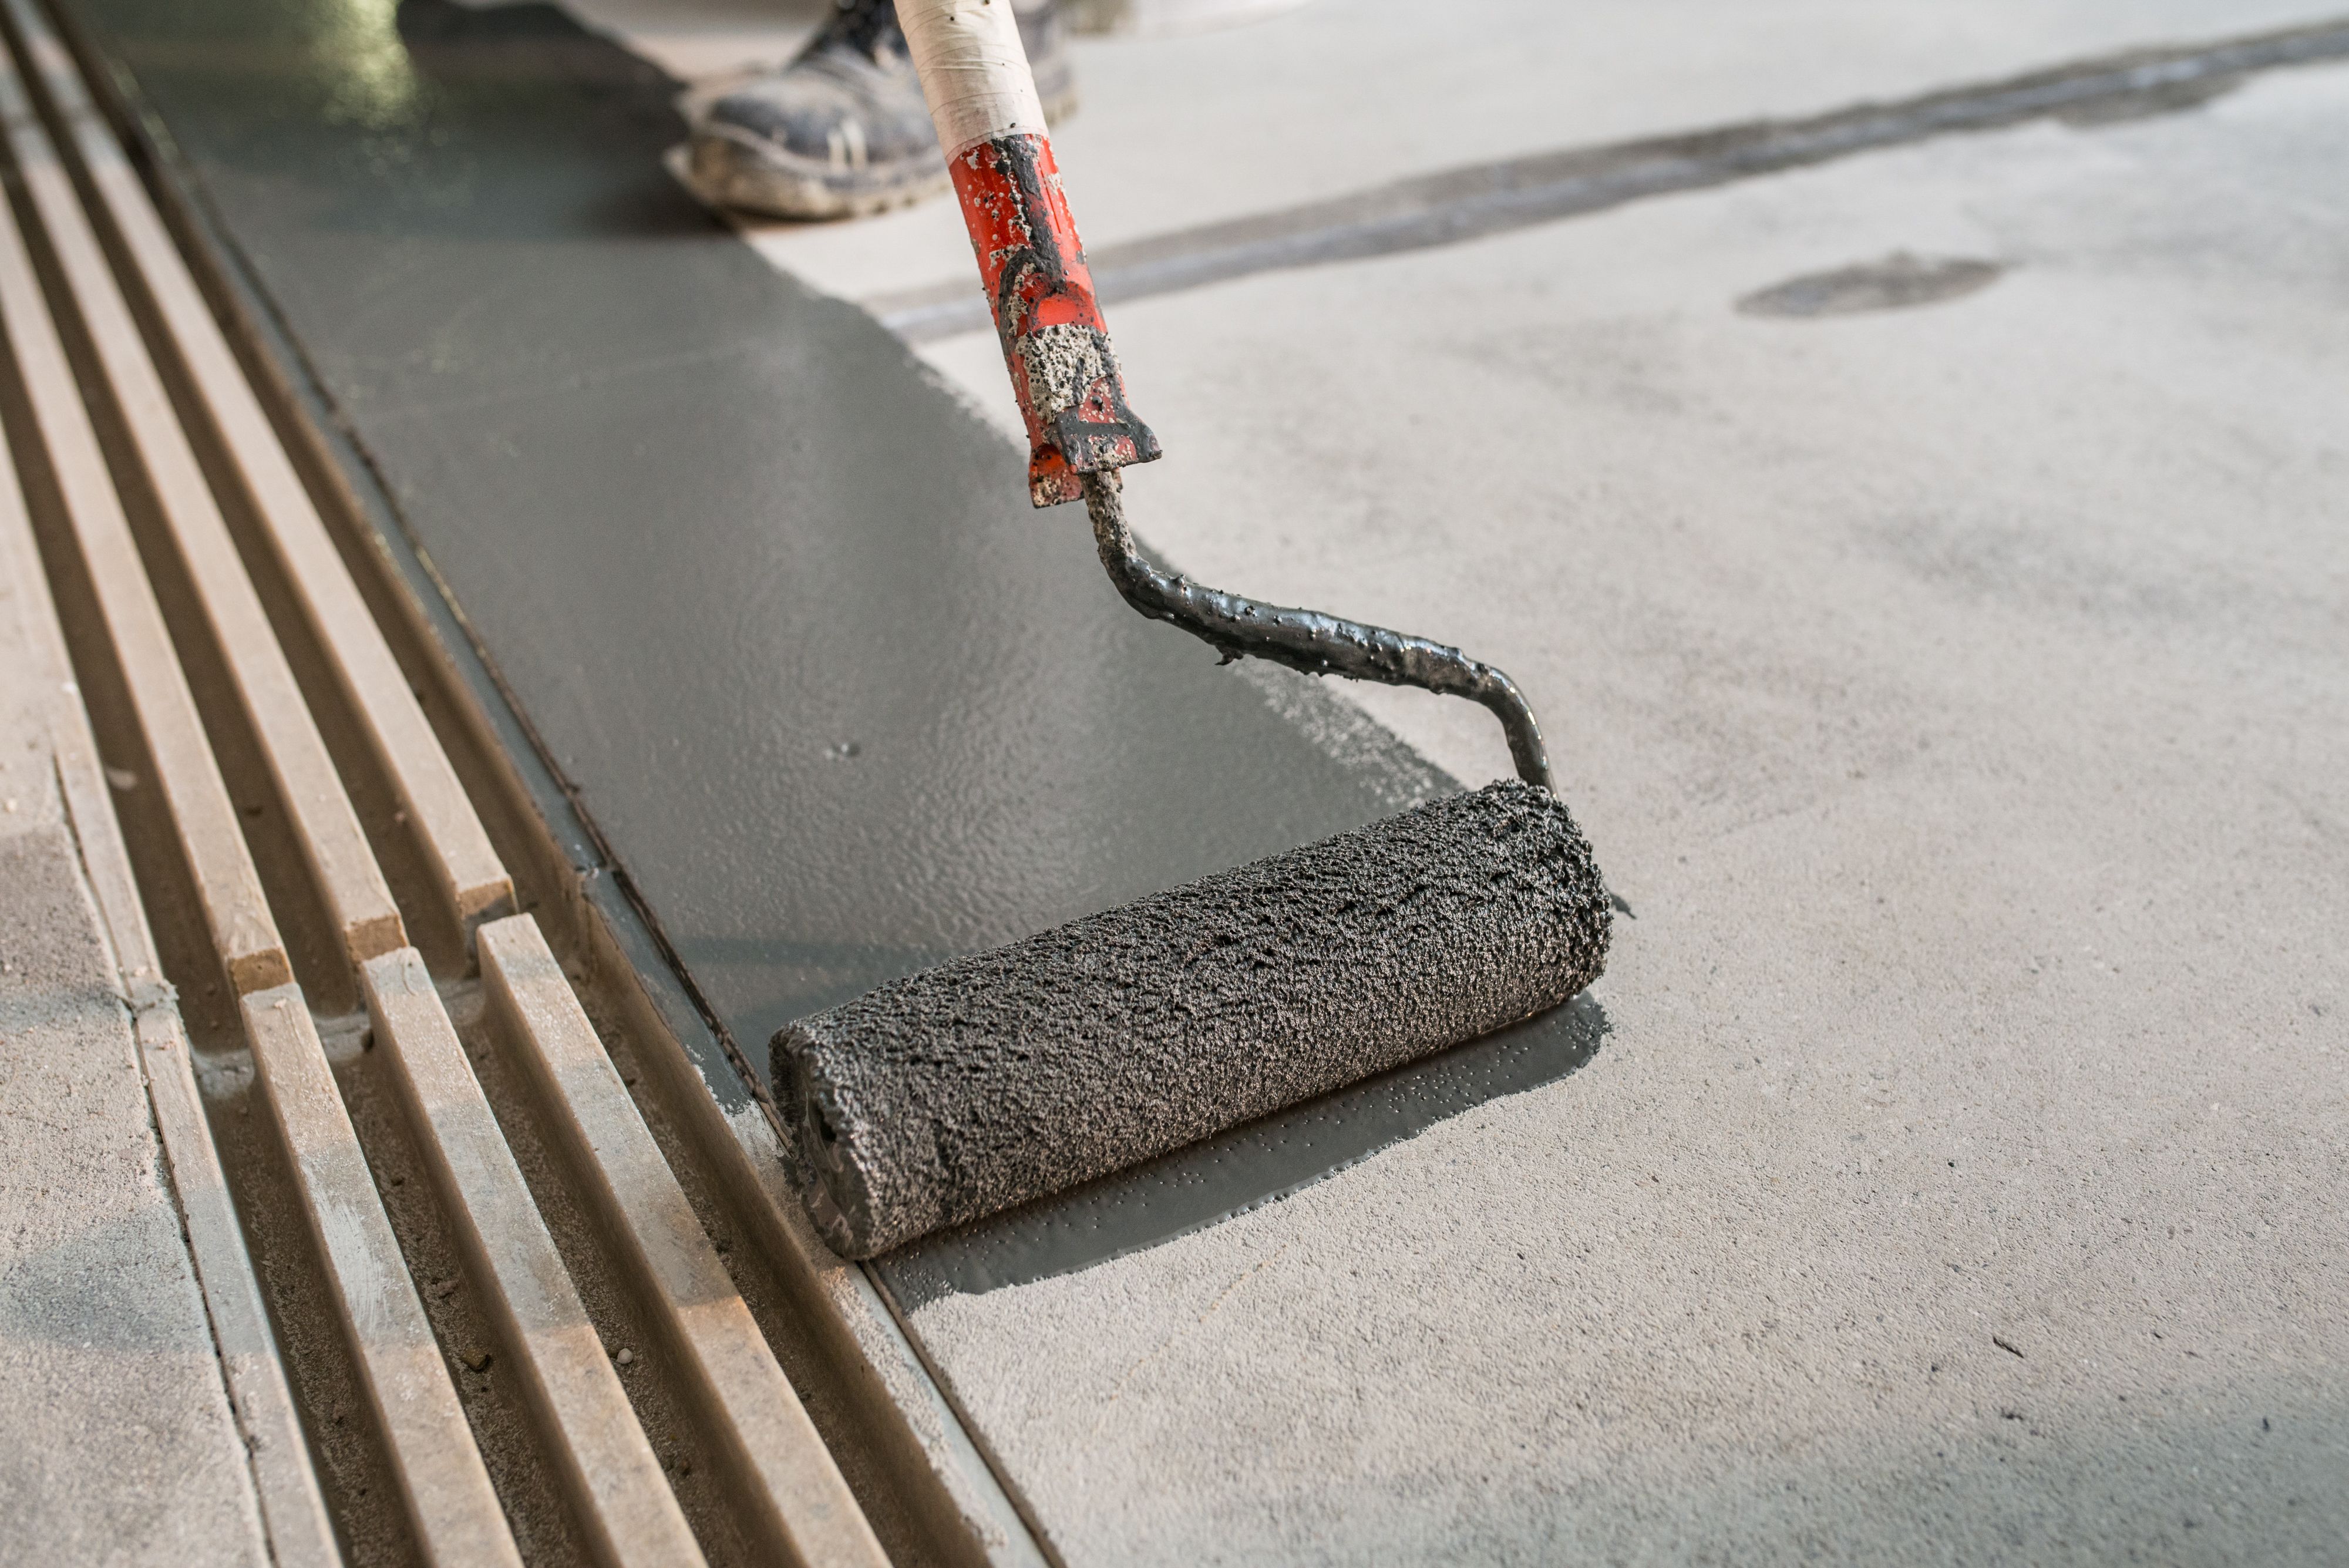
Applying Texture with Tools
The tools you use can greatly affect the outcome of your texture application. For example, sponges can create a soft, cloud-like texture, while trowels are perfect for more structured effects like stucco. To achieve a consistent look, practice your technique on a small section or a piece of cardboard before tackling the main surface.
When applying texture, work in small sections, especially if you're using materials that dry quickly. This allows you to maintain control over the design and make adjustments as needed. Remember to step back occasionally to assess your work from a distance.

Incorporating Color
Color plays a vital role in decorative finishes and textures. It can set the mood and enhance the overall design of your space. Consider using a color wash technique to add depth and interest to your textured surfaces. This involves applying a diluted paint over your base color and then wiping or sponging it off to create layers of color.
If you're feeling adventurous, try combining multiple colors for a more dynamic effect. Use colors from the same family for a subtle transition or contrasting hues for a bold statement. Don't be afraid to experiment with different combinations until you find the perfect match.

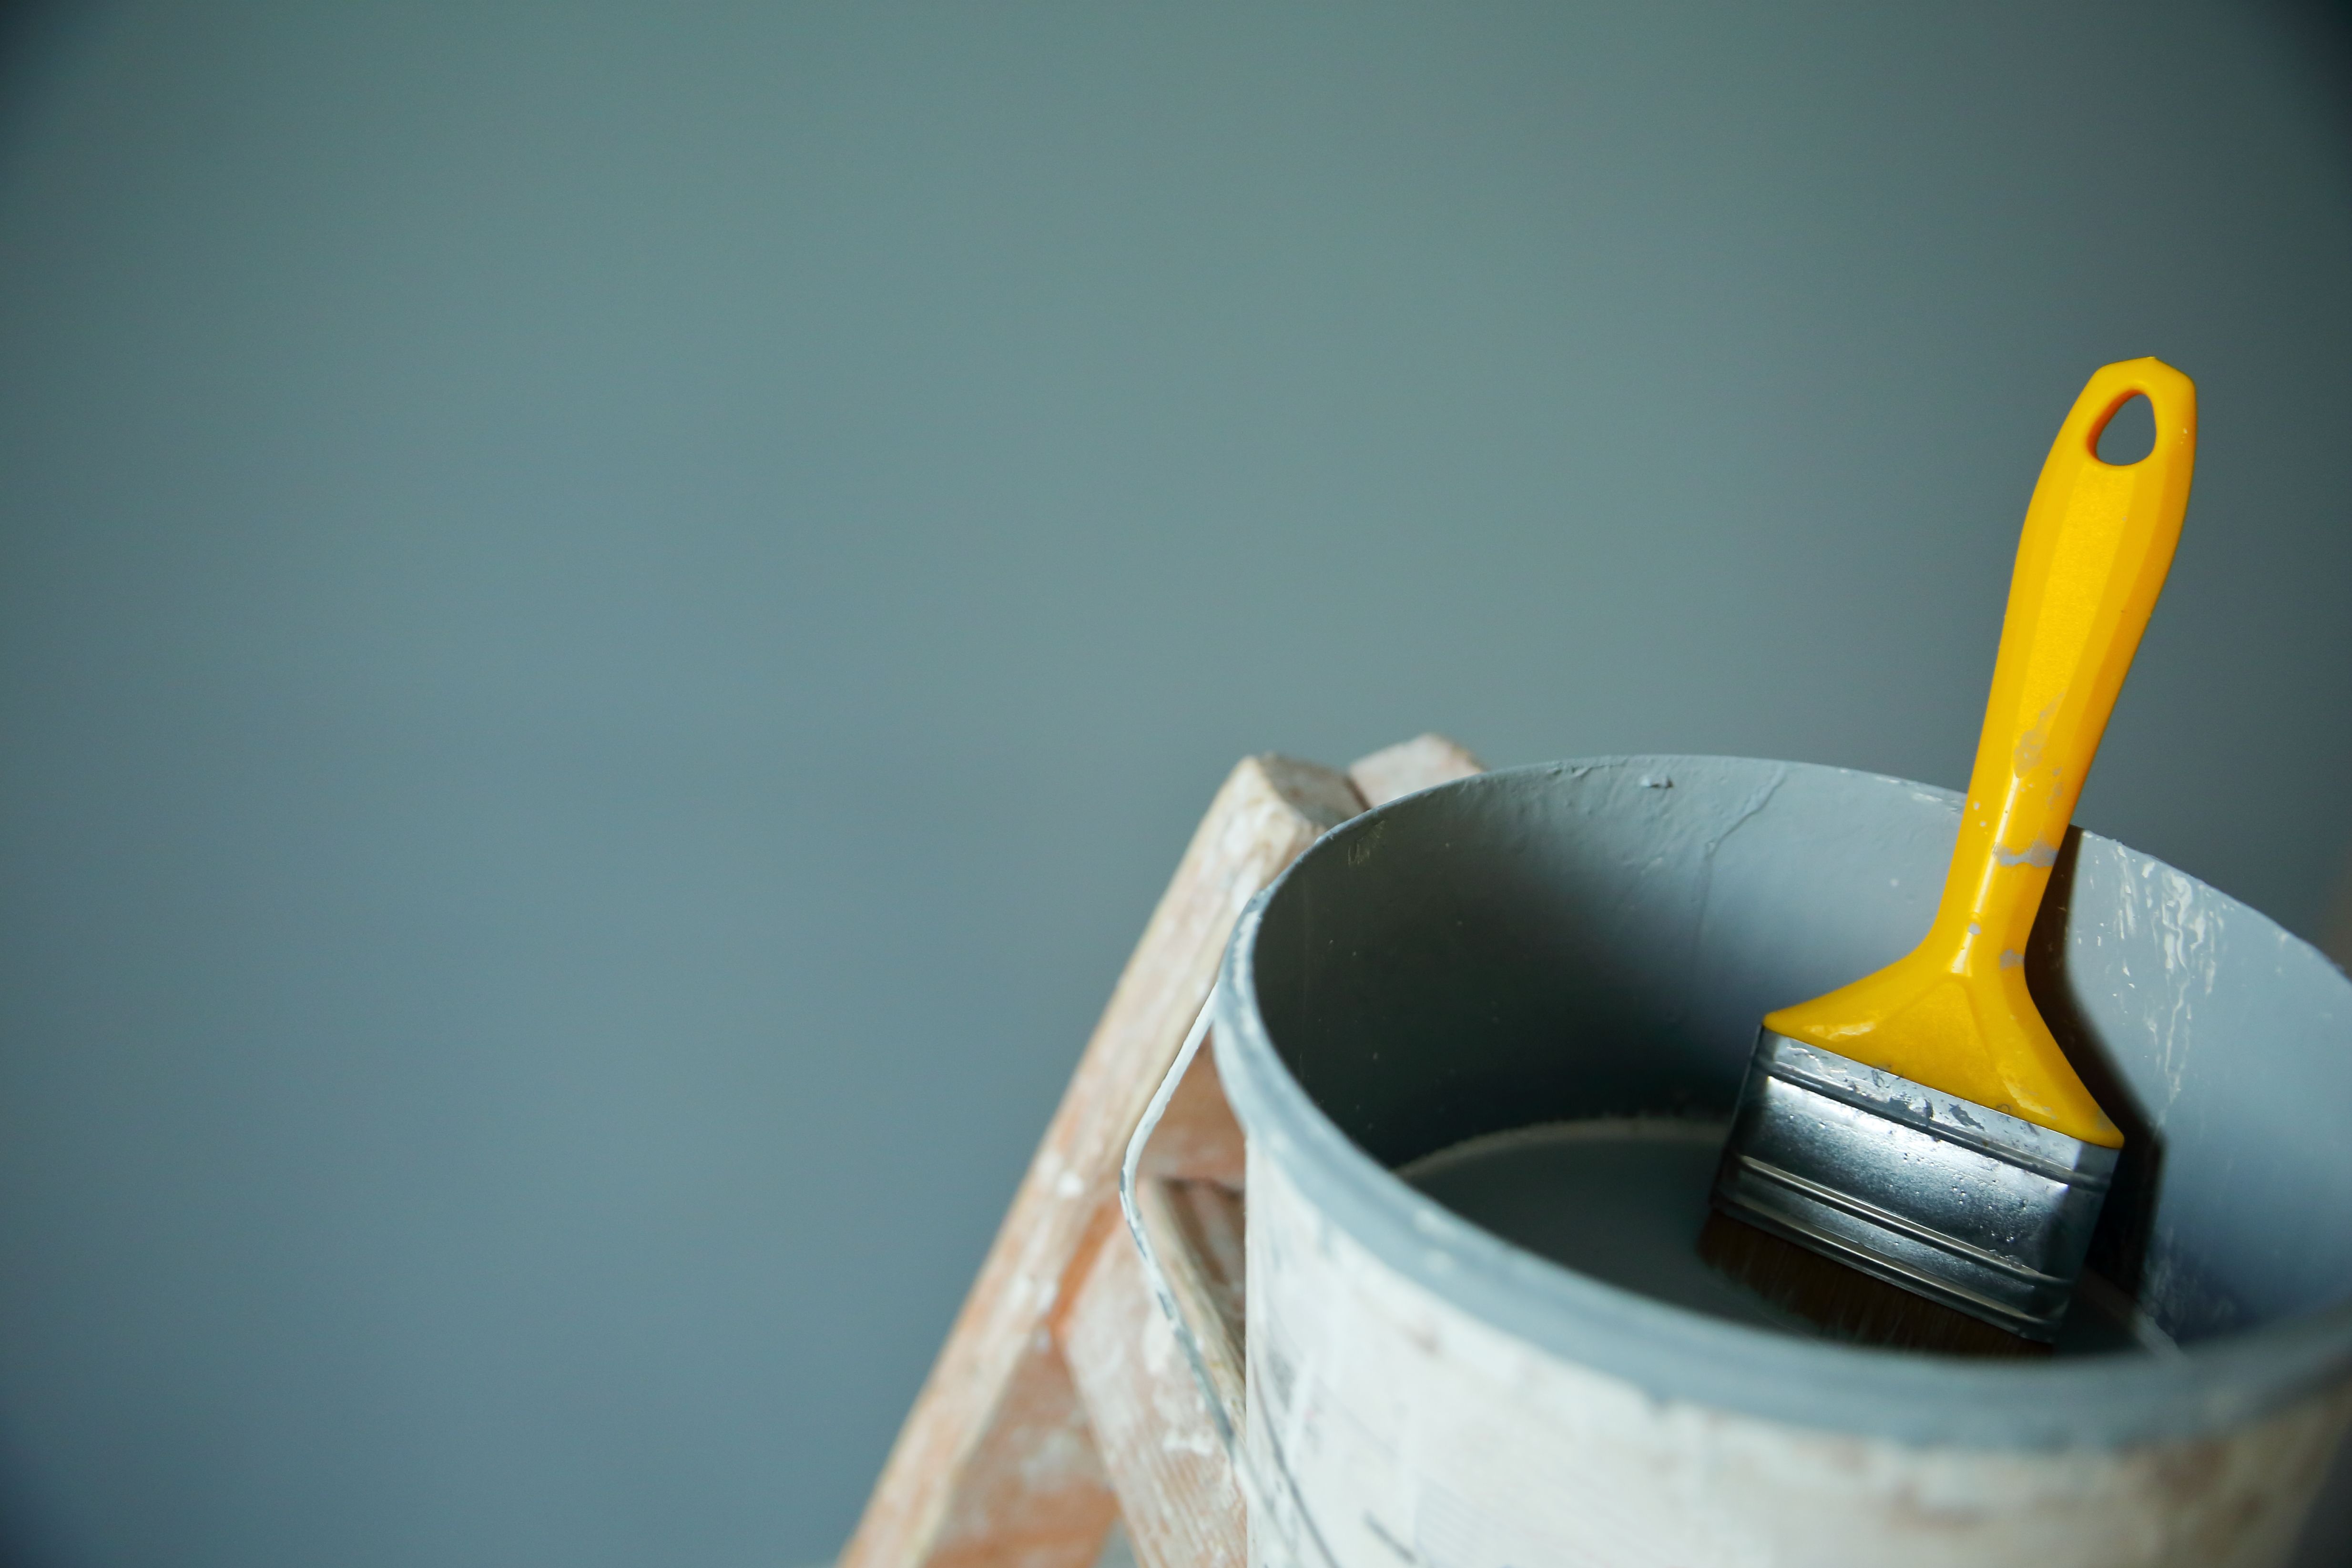
Sealing and Protecting Your Work
After completing your decorative finish or texture, it's important to seal and protect your work. This step ensures durability and preserves the appearance of your newly transformed surface. Choose a sealant that's compatible with your chosen finish—some options include clear acrylic sealers for painted surfaces or wax for plaster finishes.
Apply the sealant evenly and allow it to dry completely before using the space. This not only protects your hard work but also makes cleaning and maintenance much easier in the future.
Final Touches and Maintenance
Once your decorative finish is complete, step back and admire your handiwork! Adding finishing touches like artwork or complementary decor can enhance the overall effect and tie the room together.
Regular maintenance is key to keeping your decorative finishes looking fresh. Dust surfaces regularly and clean with appropriate, non-abrasive cleaners. With proper care, your DIY finishes will continue to impress for years to come.