How to Prepare Your Walls for a Professional Painting Job


Getting Started: Assessing Your Walls
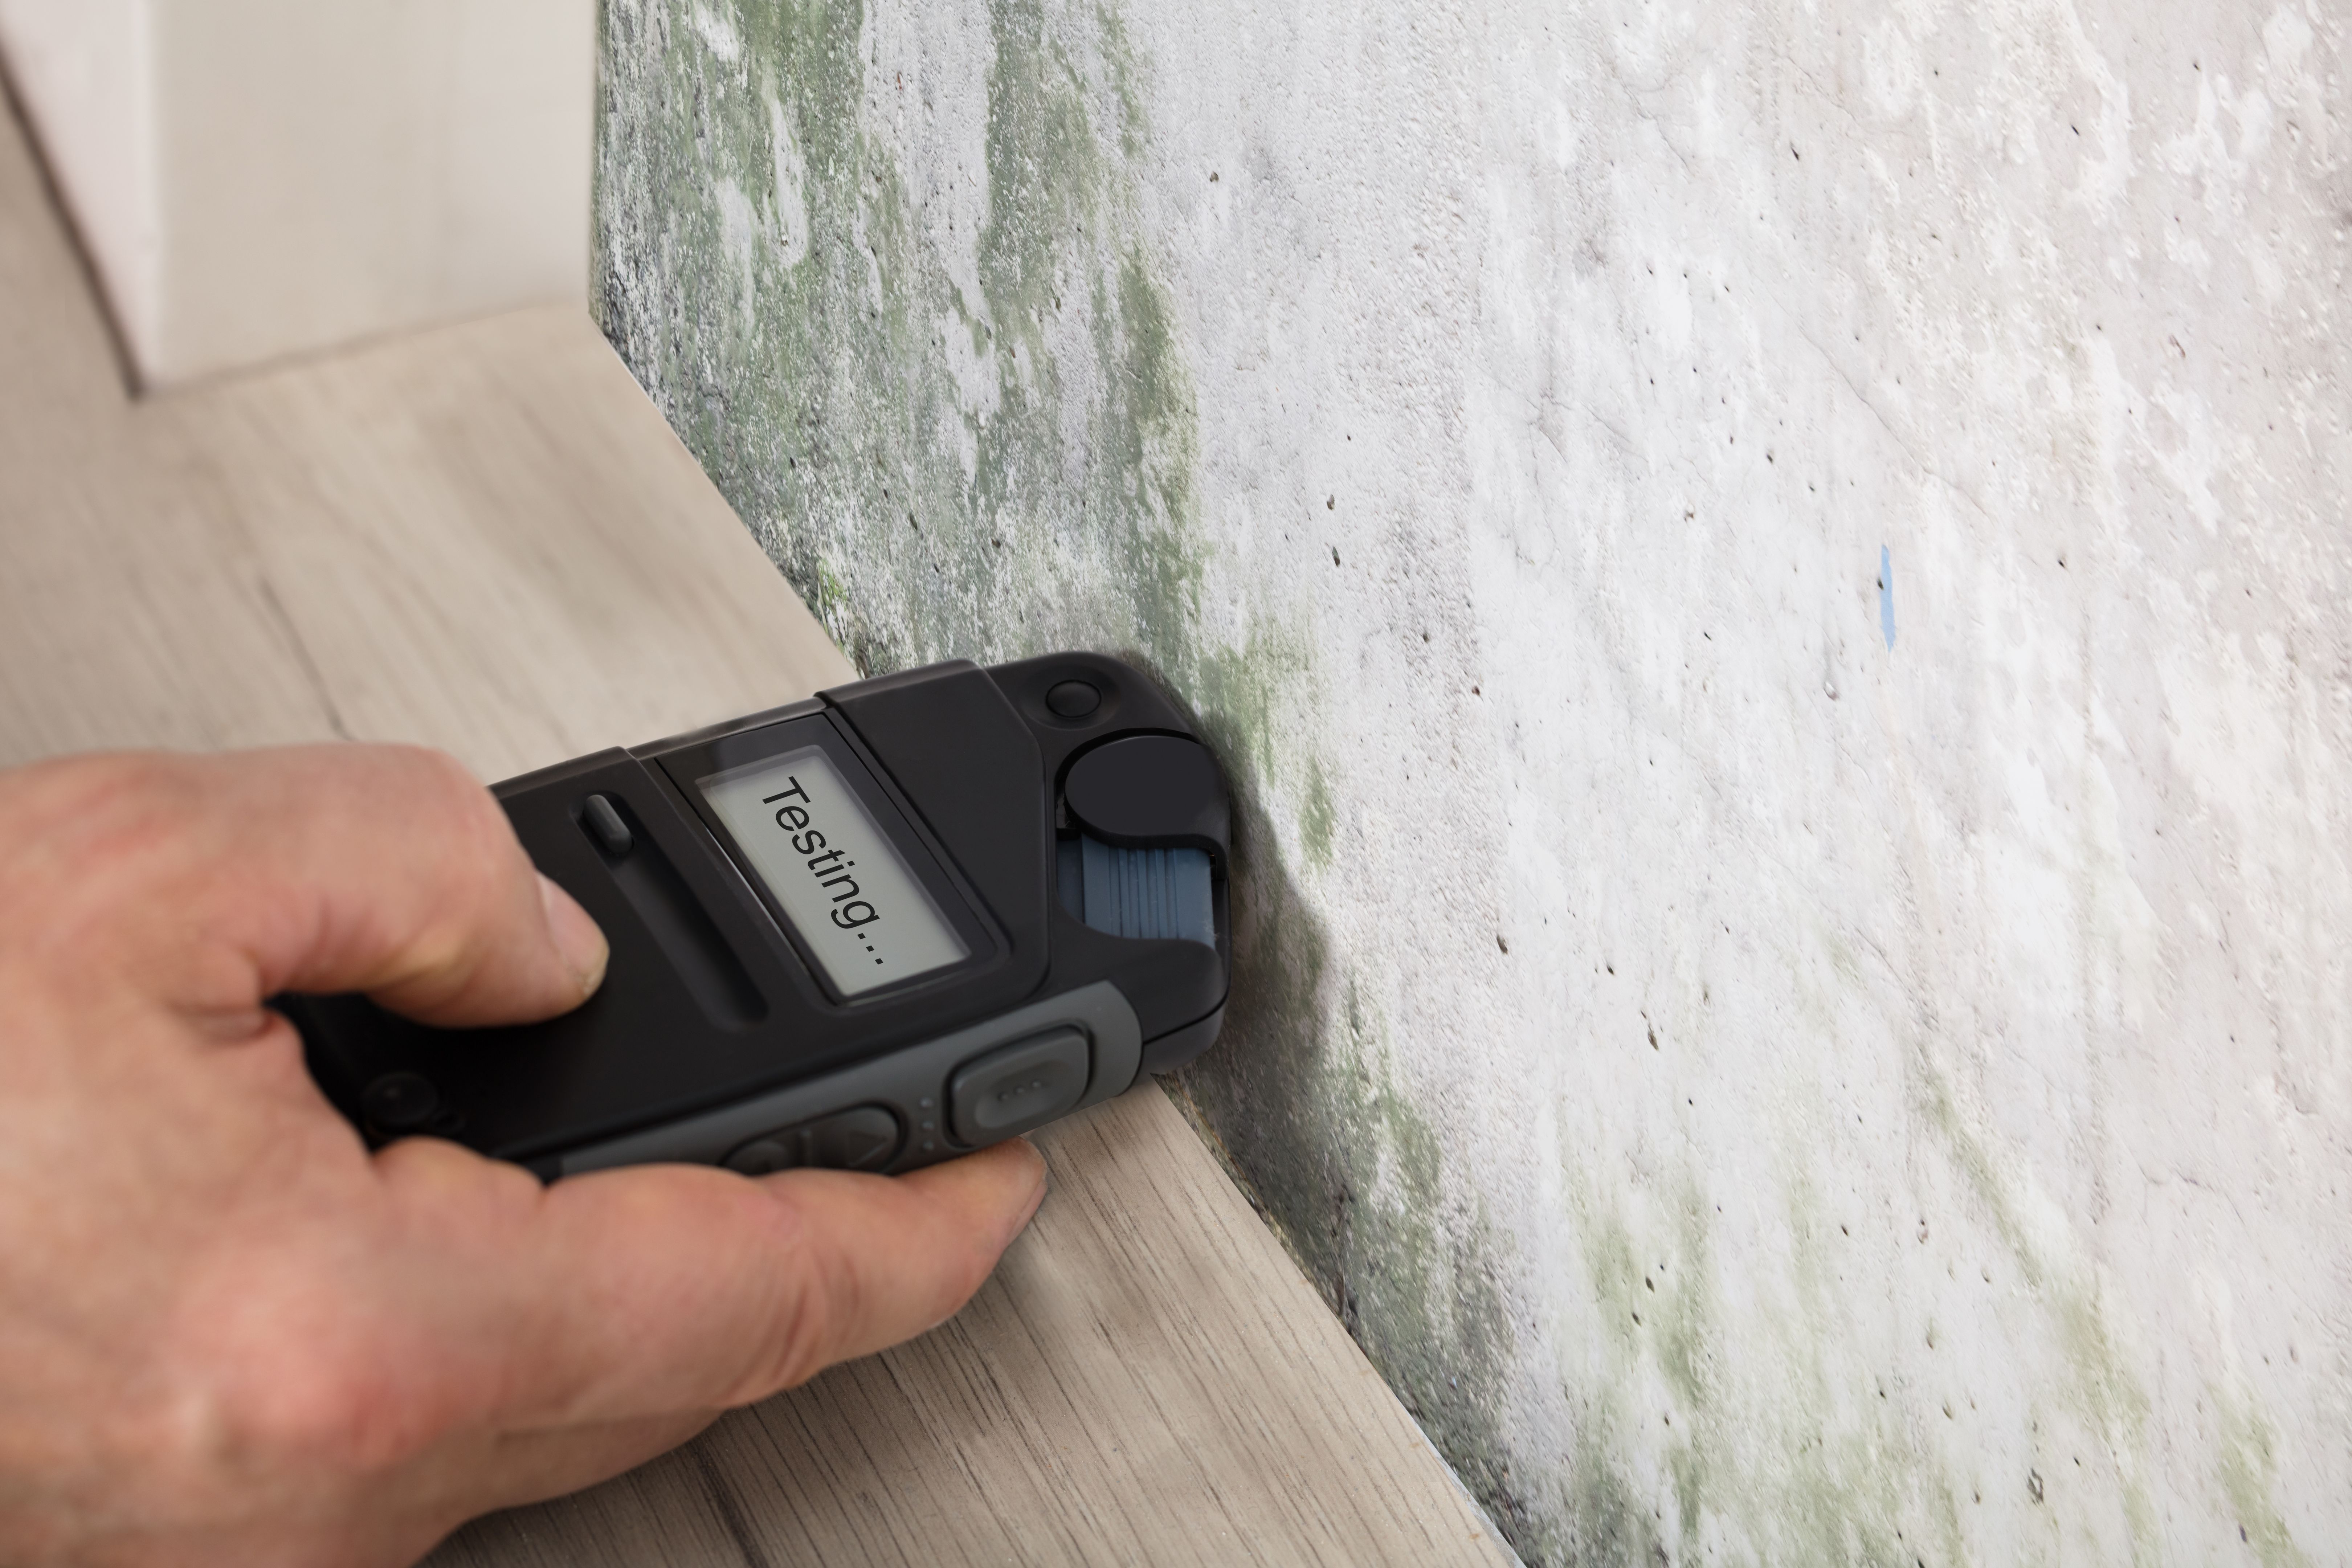
Before diving into a professional painting job, the first step is to thoroughly assess the condition of your walls. Look for imperfections such as cracks, holes, or peeling paint. These issues need to be addressed to ensure a smooth and durable finish. Start by running your hand across the wall to detect any uneven surfaces. Identifying these problem areas early on will save time and effort in the long run.
Additionally, consider the type of paint currently on your walls. Knowing whether you have oil-based or latex paint will determine the kind of primer and paint you will need. This step is crucial for ensuring that your new paint adheres properly.
Gathering the Necessary Tools and Materials
Once you've assessed your walls, gather all the necessary tools and materials for preparation. You'll need items such as sandpaper, spackle or filler, a putty knife, painter's tape, and drop cloths. These materials will help you address any imperfections and protect your floors and furnishings.
It's also important to have a primer and appropriate cleaning supplies on hand. A primer is essential for creating a smooth base and enhancing paint adhesion. Cleaning supplies will help you remove any dirt or grease that could interfere with the painting process.
Repairing and Cleaning Your Walls
The next step involves repairing any damage. Use spackle or filler to patch up holes and cracks. Apply the filler with a putty knife, ensuring it is level with the wall surface. Once dry, sand the area until it's smooth and even with the rest of the wall.
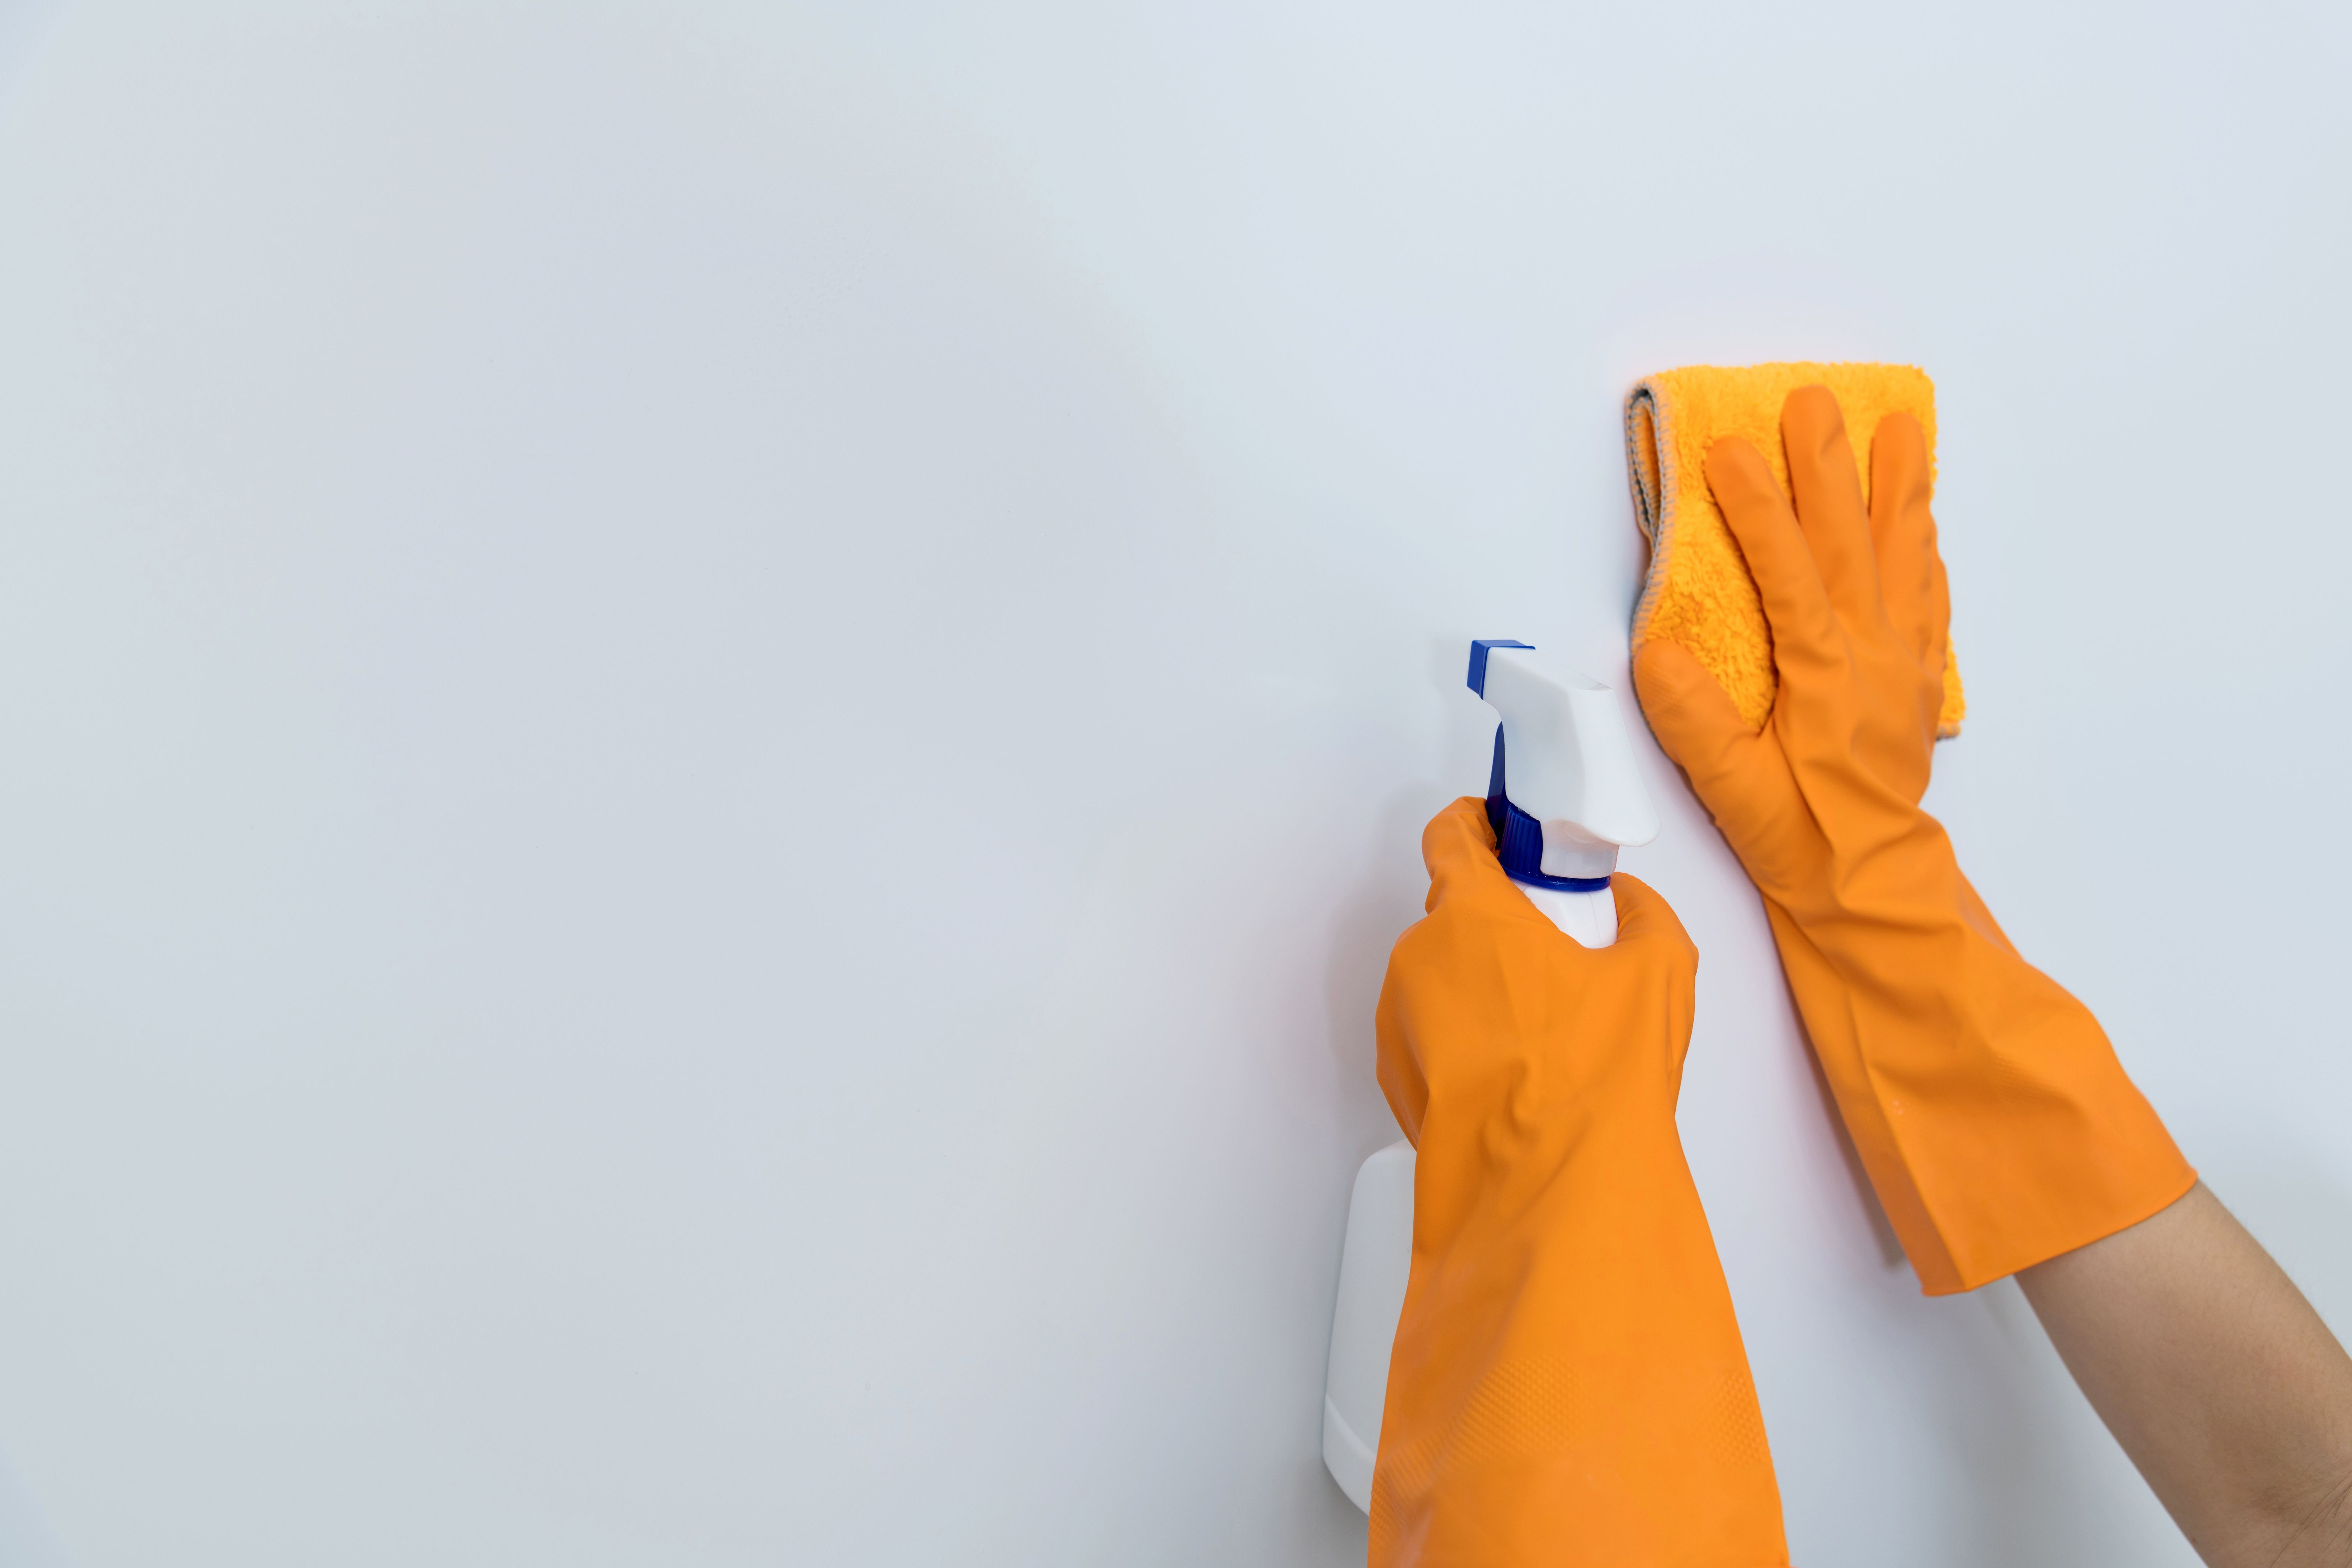
After repairs are made, it's time to clean the walls. Use a mild detergent mixed with water to wipe down the surface and remove any dust or grime. Cleaning is a vital step to ensure that your paint job looks professional and lasts longer.
Sanding for a Smooth Finish
Sanding is an essential part of wall preparation, especially if your walls have glossy paint or uneven textures. Use fine-grit sandpaper to gently sand the entire surface. This will help the primer and paint adhere better, resulting in a smoother finish.
Be sure to wipe down the walls with a damp cloth after sanding to remove any dust particles left behind. This ensures that your primer and paint will go on smoothly without any imperfections.
Priming Your Walls
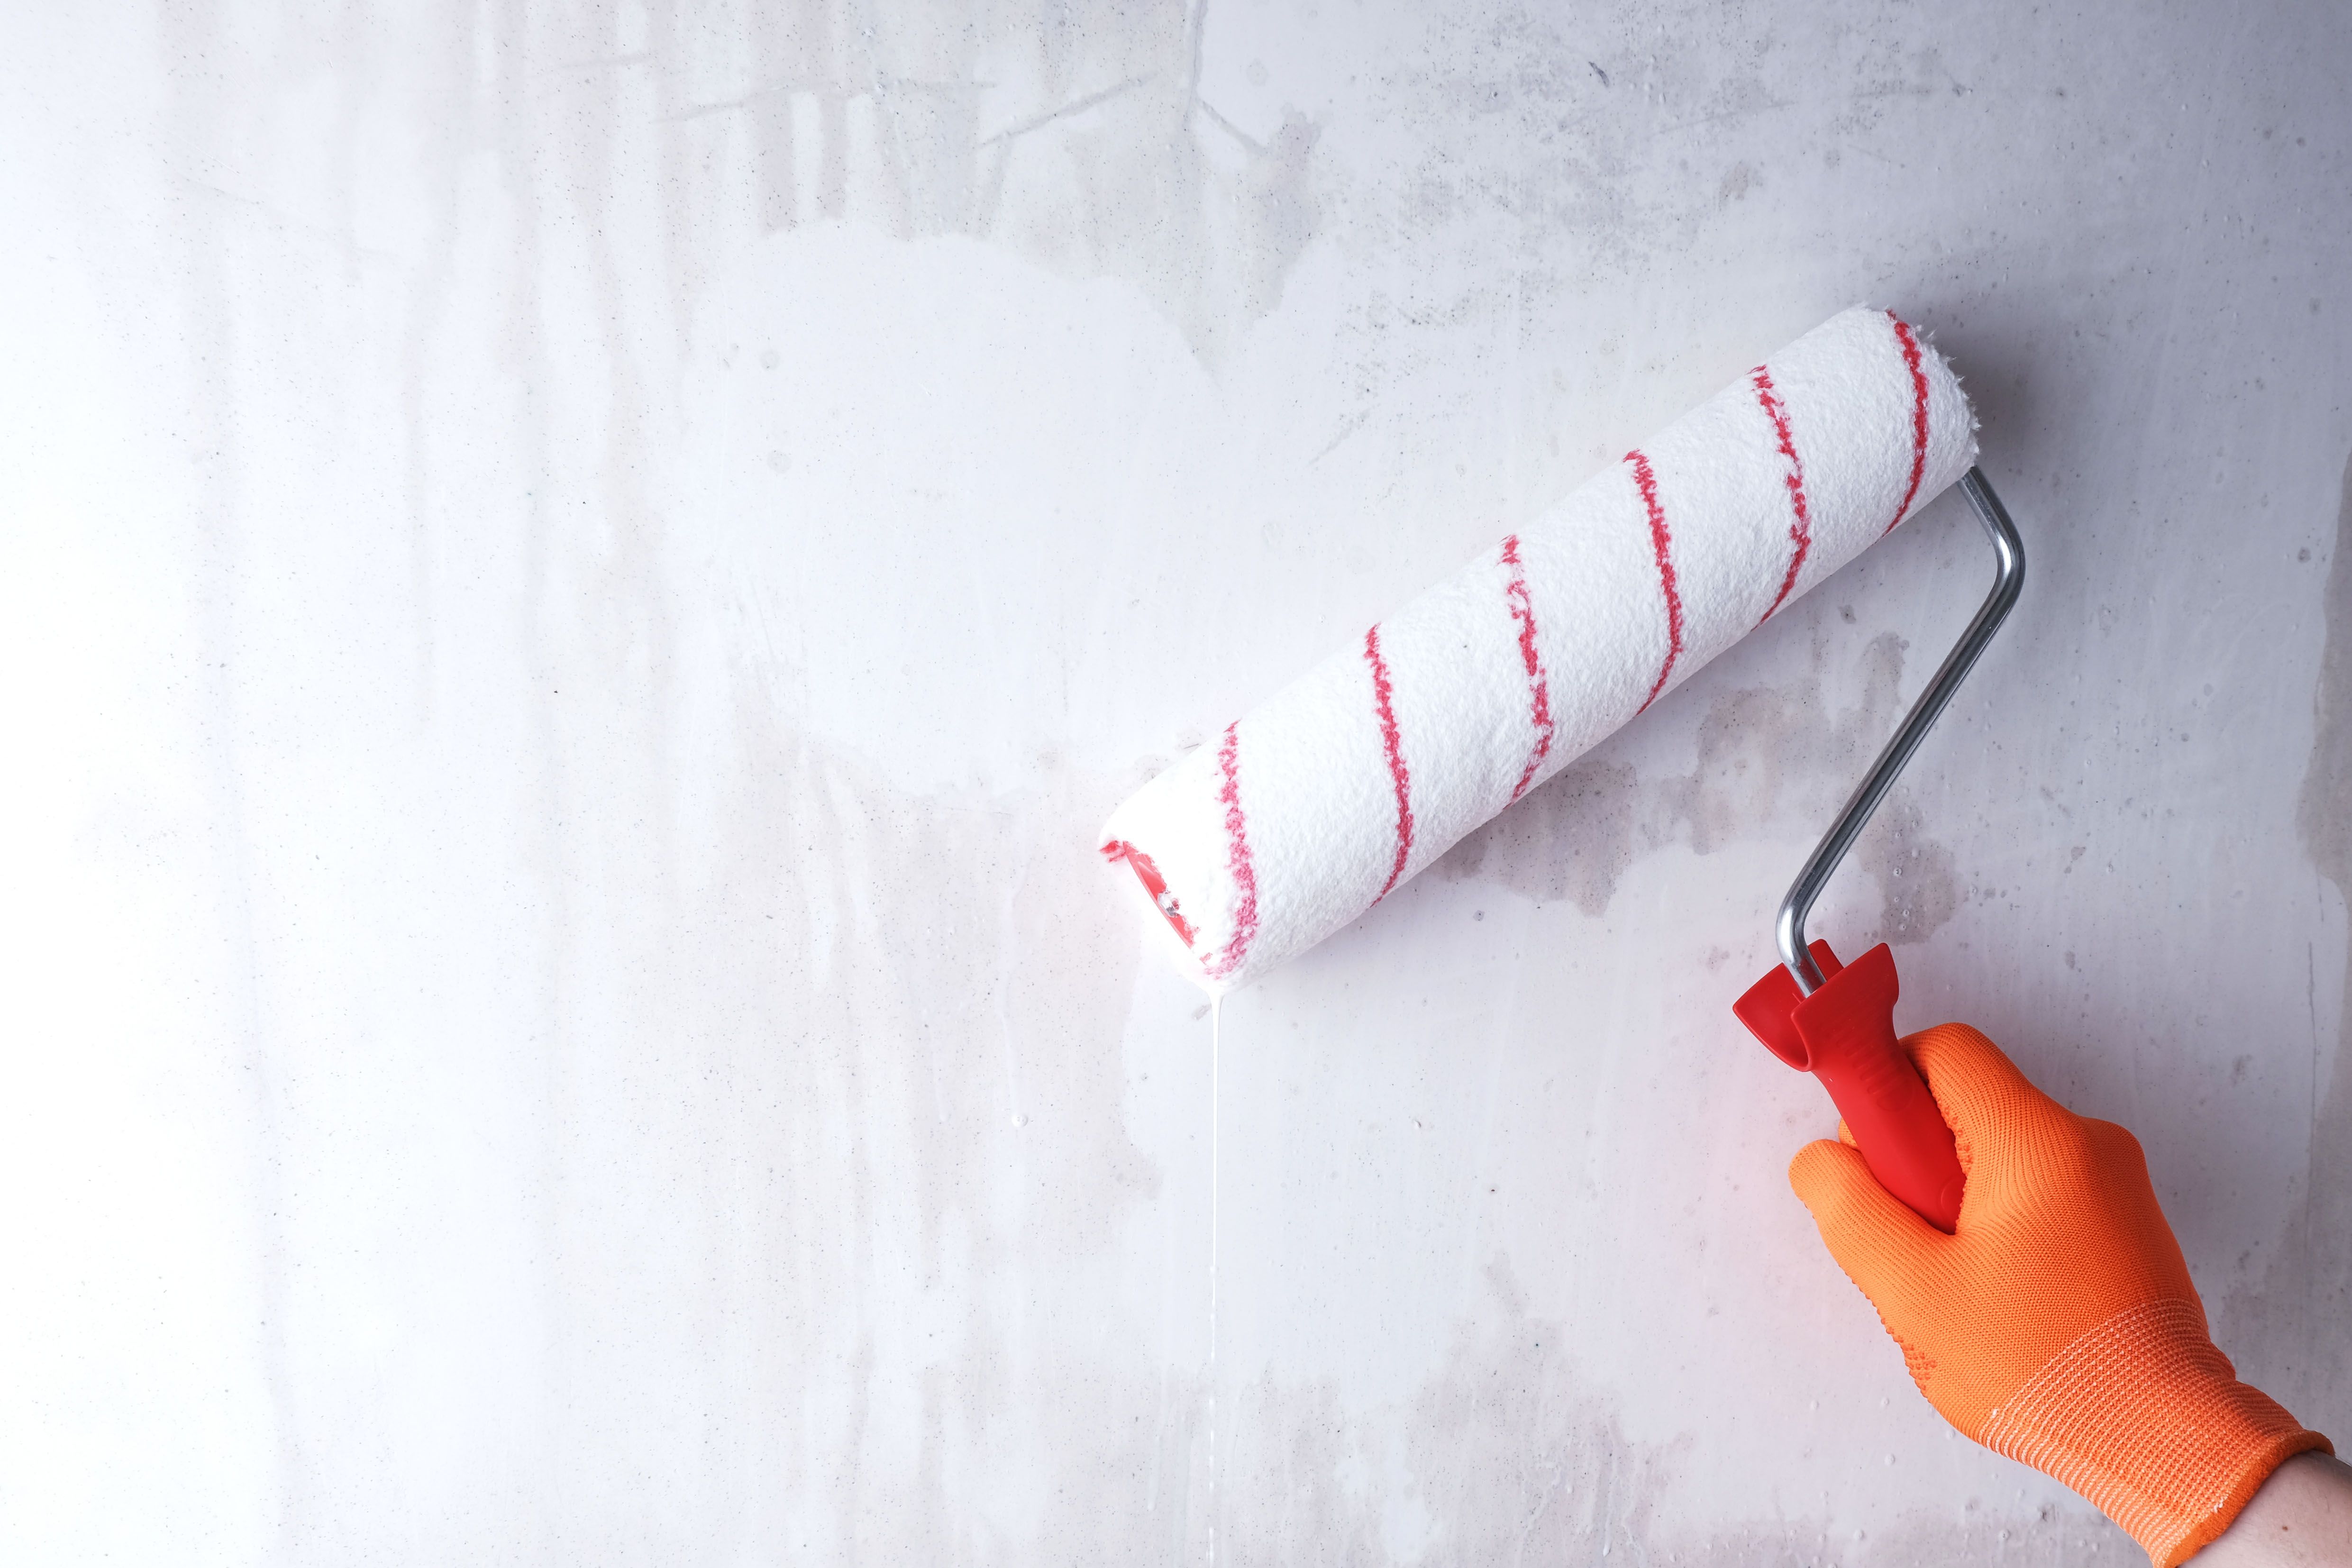
Applying a primer is a critical step before painting. Primer helps to seal any repairs you've made, creating an even surface for the paint to adhere to. Choose a primer that suits your wall type and the paint you plan to use.
Apply the primer using a brush or roller, depending on the texture of your walls. Allow it to dry completely before moving on to painting. This step ensures that the final paint job will be vibrant and long-lasting.
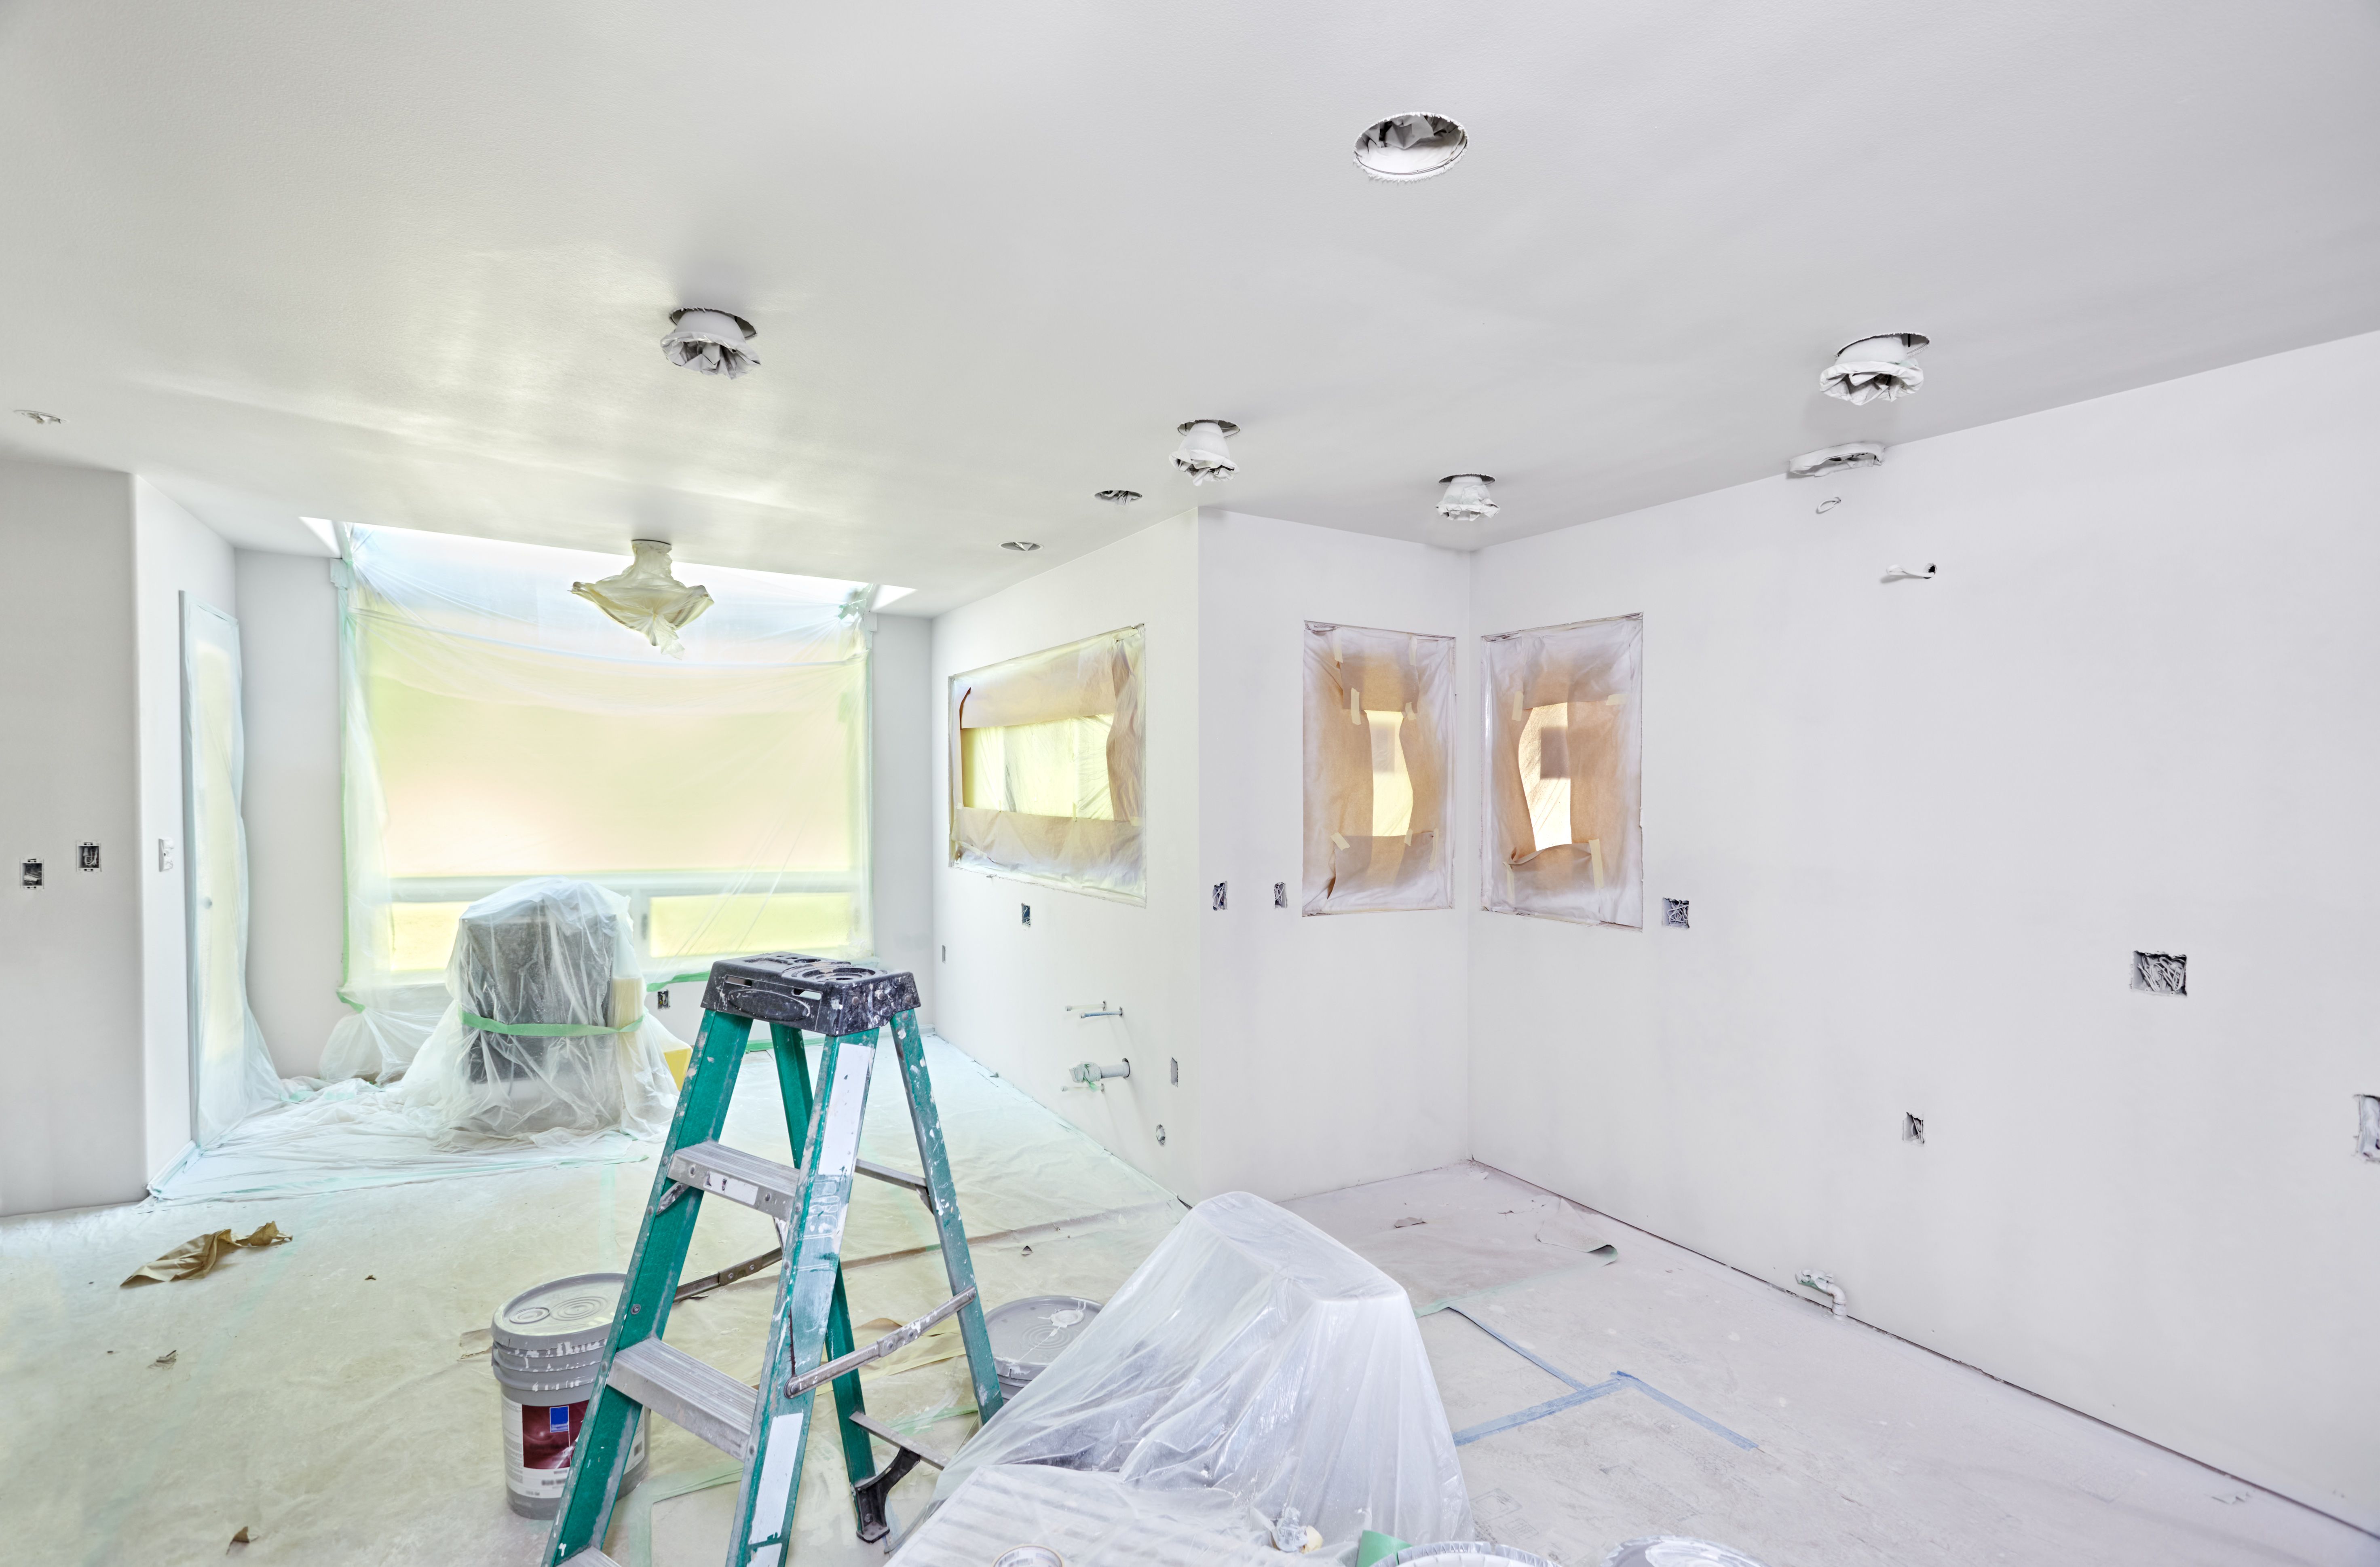
Protecting Your Space
Before you start painting, make sure to protect your floors, furniture, and any fixtures in the room. Use drop cloths or plastic sheeting to cover these areas. Secure them in place with painter’s tape to avoid any accidental spills or drips.
Additionally, use painter’s tape to mask off edges, trim, and any areas you don’t want painted. Taking these precautions will ensure clean lines and a professional finish once the painting is complete.
Final Check: Ensuring Readiness
Before calling in the professionals or starting your DIY painting project, do a final check of your preparations. Ensure all holes are filled, surfaces are sanded smoothly, and primer is dry. Double-check that all necessary areas are protected with drop cloths and tape.
By taking these steps, you'll not only save time during the painting process but also ensure that your walls look immaculate when finished.